Bleed - What is it and How to Create one
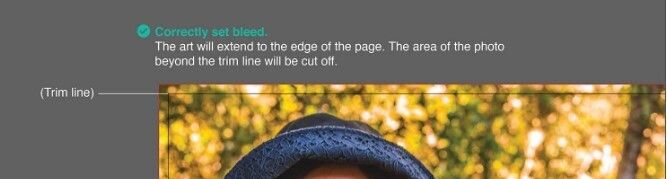
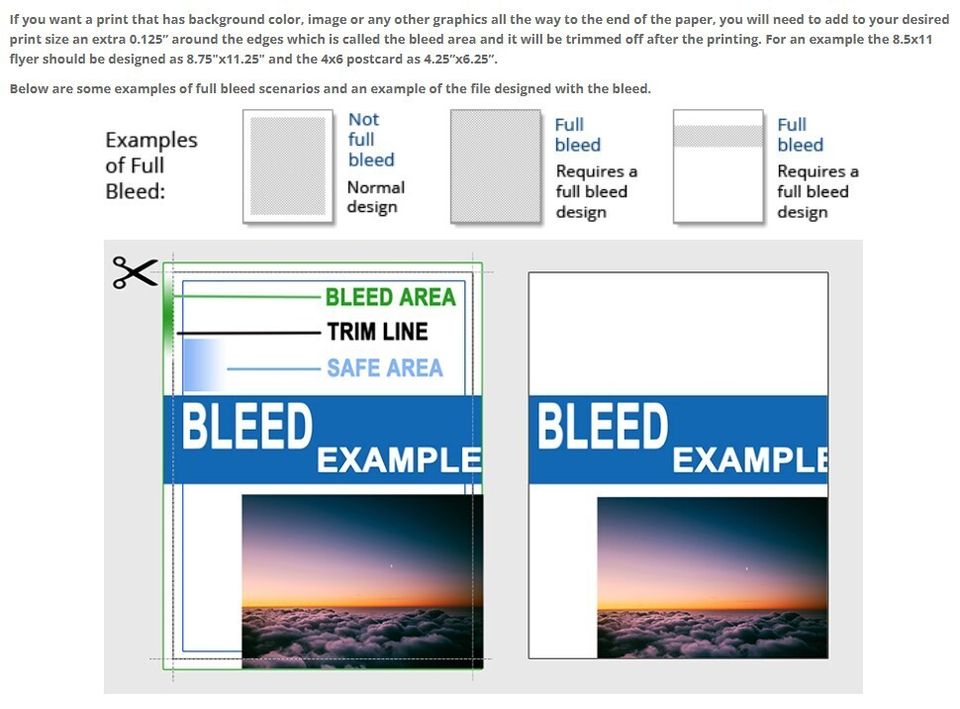
Full bleed printing is used when a project calls for a printed image or document to have no margins (white space at the edges), or in other words, when the printed color & images extend all the way to the edge of the paper. In practical terms, printing equipment can’t actually print all the way to and edge of a sheet of paper. Since something needs to hold the paper in place, unfinished print jobs, or jobs produced without bleed, will usually have a white border around each page. If a project calls for color and images to extend all the way to the edge of the document, otherwise known as printing in bleed, the white unprinted edges of the document are simply trimmed off.
Simple enough, right? In practice, mistakes involving bleed are very common. In fact, incorrectly set bleed is one of the most common mistakes we see in the files we’re sent. If you want to ensure that your file is printed correctly and avoid any unplanned delays for file adjustment in pre-press, there are a few simple steps you can take to understand how printing in bleed works and what it means for how you set up your document.
Simple enough, right? In practice, mistakes involving bleed are very common. In fact, incorrectly set bleed is one of the most common mistakes we see in the files we’re sent. If you want to ensure that your file is printed correctly and avoid any unplanned delays for file adjustment in pre-press, there are a few simple steps you can take to understand how printing in bleed works and what it means for how you set up your document.